How to Create a WooCommerce Cart Popup Using JetEngine – Method 1 (No Coding Required)
How to Create a WooCommerce Cart Popup Using JetEngine – Method 1 (No Coding Required)
Build a dynamic, AJAX-powered cart popup with Elementor, JetPopup, and JetWooBuilder — no code needed. Perfect for modern WooCommerce stores.
Required Plugins
Before starting, ensure the following Crocoblock plugins are installed and activated on your WordPress site:
- Elementor – The core page builder (free version works)
- JetPopup – For creating interactive popups
- JetEngine – Dynamic content & logic engine
- JetWooBuilder – WooCommerce-specific Elementor widgets
These plugins integrate seamlessly to deliver a real-time cart experience without custom code.
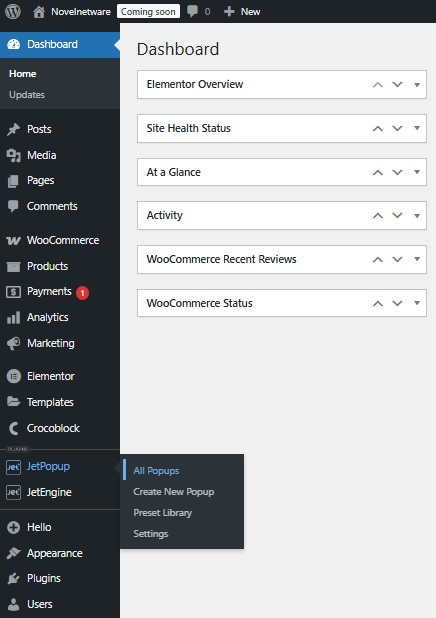
Step 1: Create a New Popup in JetPopup
Begin by setting up the popup structure using JetPopup’s user-friendly dashboard.
- From your WordPress Dashboard, go to JetPopup → All Popups.
- Click Create New Popup.
- Select the Slide In layout for a sleek side-slide animation.
- Name your popup:
CartPopup(or any unique name).
This creates a blank popup ready for Elementor design.

Step 2: Design the Popup with Elementor
Use Elementor’s drag-and-drop editor to build a beautiful, branded cart interface.
- Click Edit with Elementor to launch the popup editor.
- Remove any default content for a clean canvas.
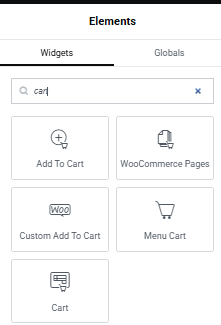
- Add a Container to organize your layout.
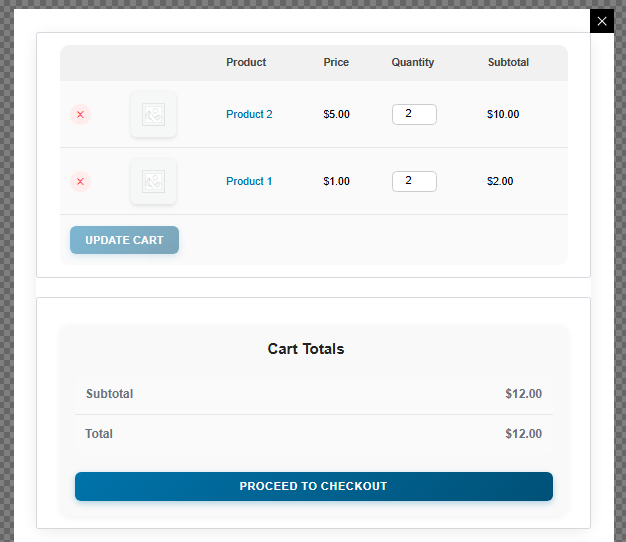
- Search and drag the Cart Widget (from JetWooBuilder) into the container.
- Customize colors, fonts, spacing, and buttons to match your theme.
- Optionally hide the coupon field or checkout button for minimalism.
Your popup now displays a fully styled, functional cart.
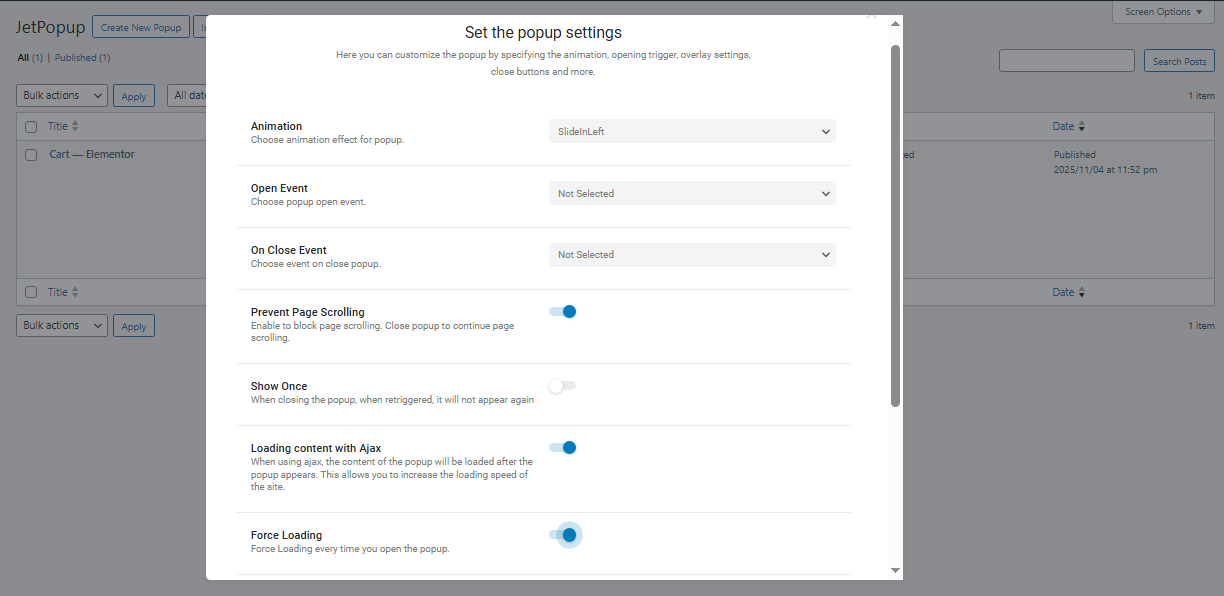
Step 3: Configure Popup Settings for Dynamic Updates
Enable real-time cart updates using AJAX to avoid page reloads.
- Return to JetPopup → All Popups.
- Find
CartPopupand click Edit Settings. - Enable Loading Content with AJAX for live cart data.
- Turn on Force Loading to ensure fresh content on every open.
These settings guarantee instant reflection of cart changes.

Step 4: Enable Smart Popup Behavior
Improve UX with intelligent popup controls.
- Prevent Page Scrolling – Locks background during popup use.
- Loading Content with AJAX – Already enabled.
- Force Loading – Prevents stale cart data.
These options create a focused, seamless shopping flow.
Step 5: Connect the Popup to a Cart Icon or Button
Link your popup to a header cart icon for easy access.
- Edit your Header Template using Elementor.
- Select your Cart Icon or button.
- Go to the Advanced tab.
- Find the JetPopup settings section.
- Set Attached Popup to
CartPopup. - Choose Trigger Type: Click on Widget.
Now, clicking the icon instantly opens your dynamic cart.

Final Step: Test Your Cart Popup
Verify everything works perfectly in a live environment.
- Open your site in an incognito window.
- Add products to the cart.
- Click the header cart icon.
- Update quantities or remove items — changes update instantly.
No refresh. No lag. Just smooth, real-time cart interaction.
Additional Notes (Method 1 Summary)
This method delivers a lightweight, responsive, code-free cart popup using only Elementor and Crocoblock tools.
- 100% no-code solution
- Real-time AJAX updates
- Full mobile compatibility
- Easy to customize and maintain
Stay tuned for Method 2: Off-canvas cart with animations and mini-cart previews.
Frequently Asked Questions
Do I need Elementor Pro for this method?
No. The free version of Elementor is sufficient. Elementor Pro is only needed if you want advanced theme builder features.
Will the cart update if I change quantity in the popup?
Yes! With AJAX enabled, all changes (quantity, remove, coupons) update instantly without reloading the page.
Is this mobile-friendly?
Absolutely. JetPopup and JetWooBuilder are fully responsive. The Slide In layout works beautifully on phones and tablets.
Administrator
WordPress & performance specialist at Novelnetware.
Related articles
More tutorials on similar topics.

Comments
Have a question about this tutorial? Ask it here.